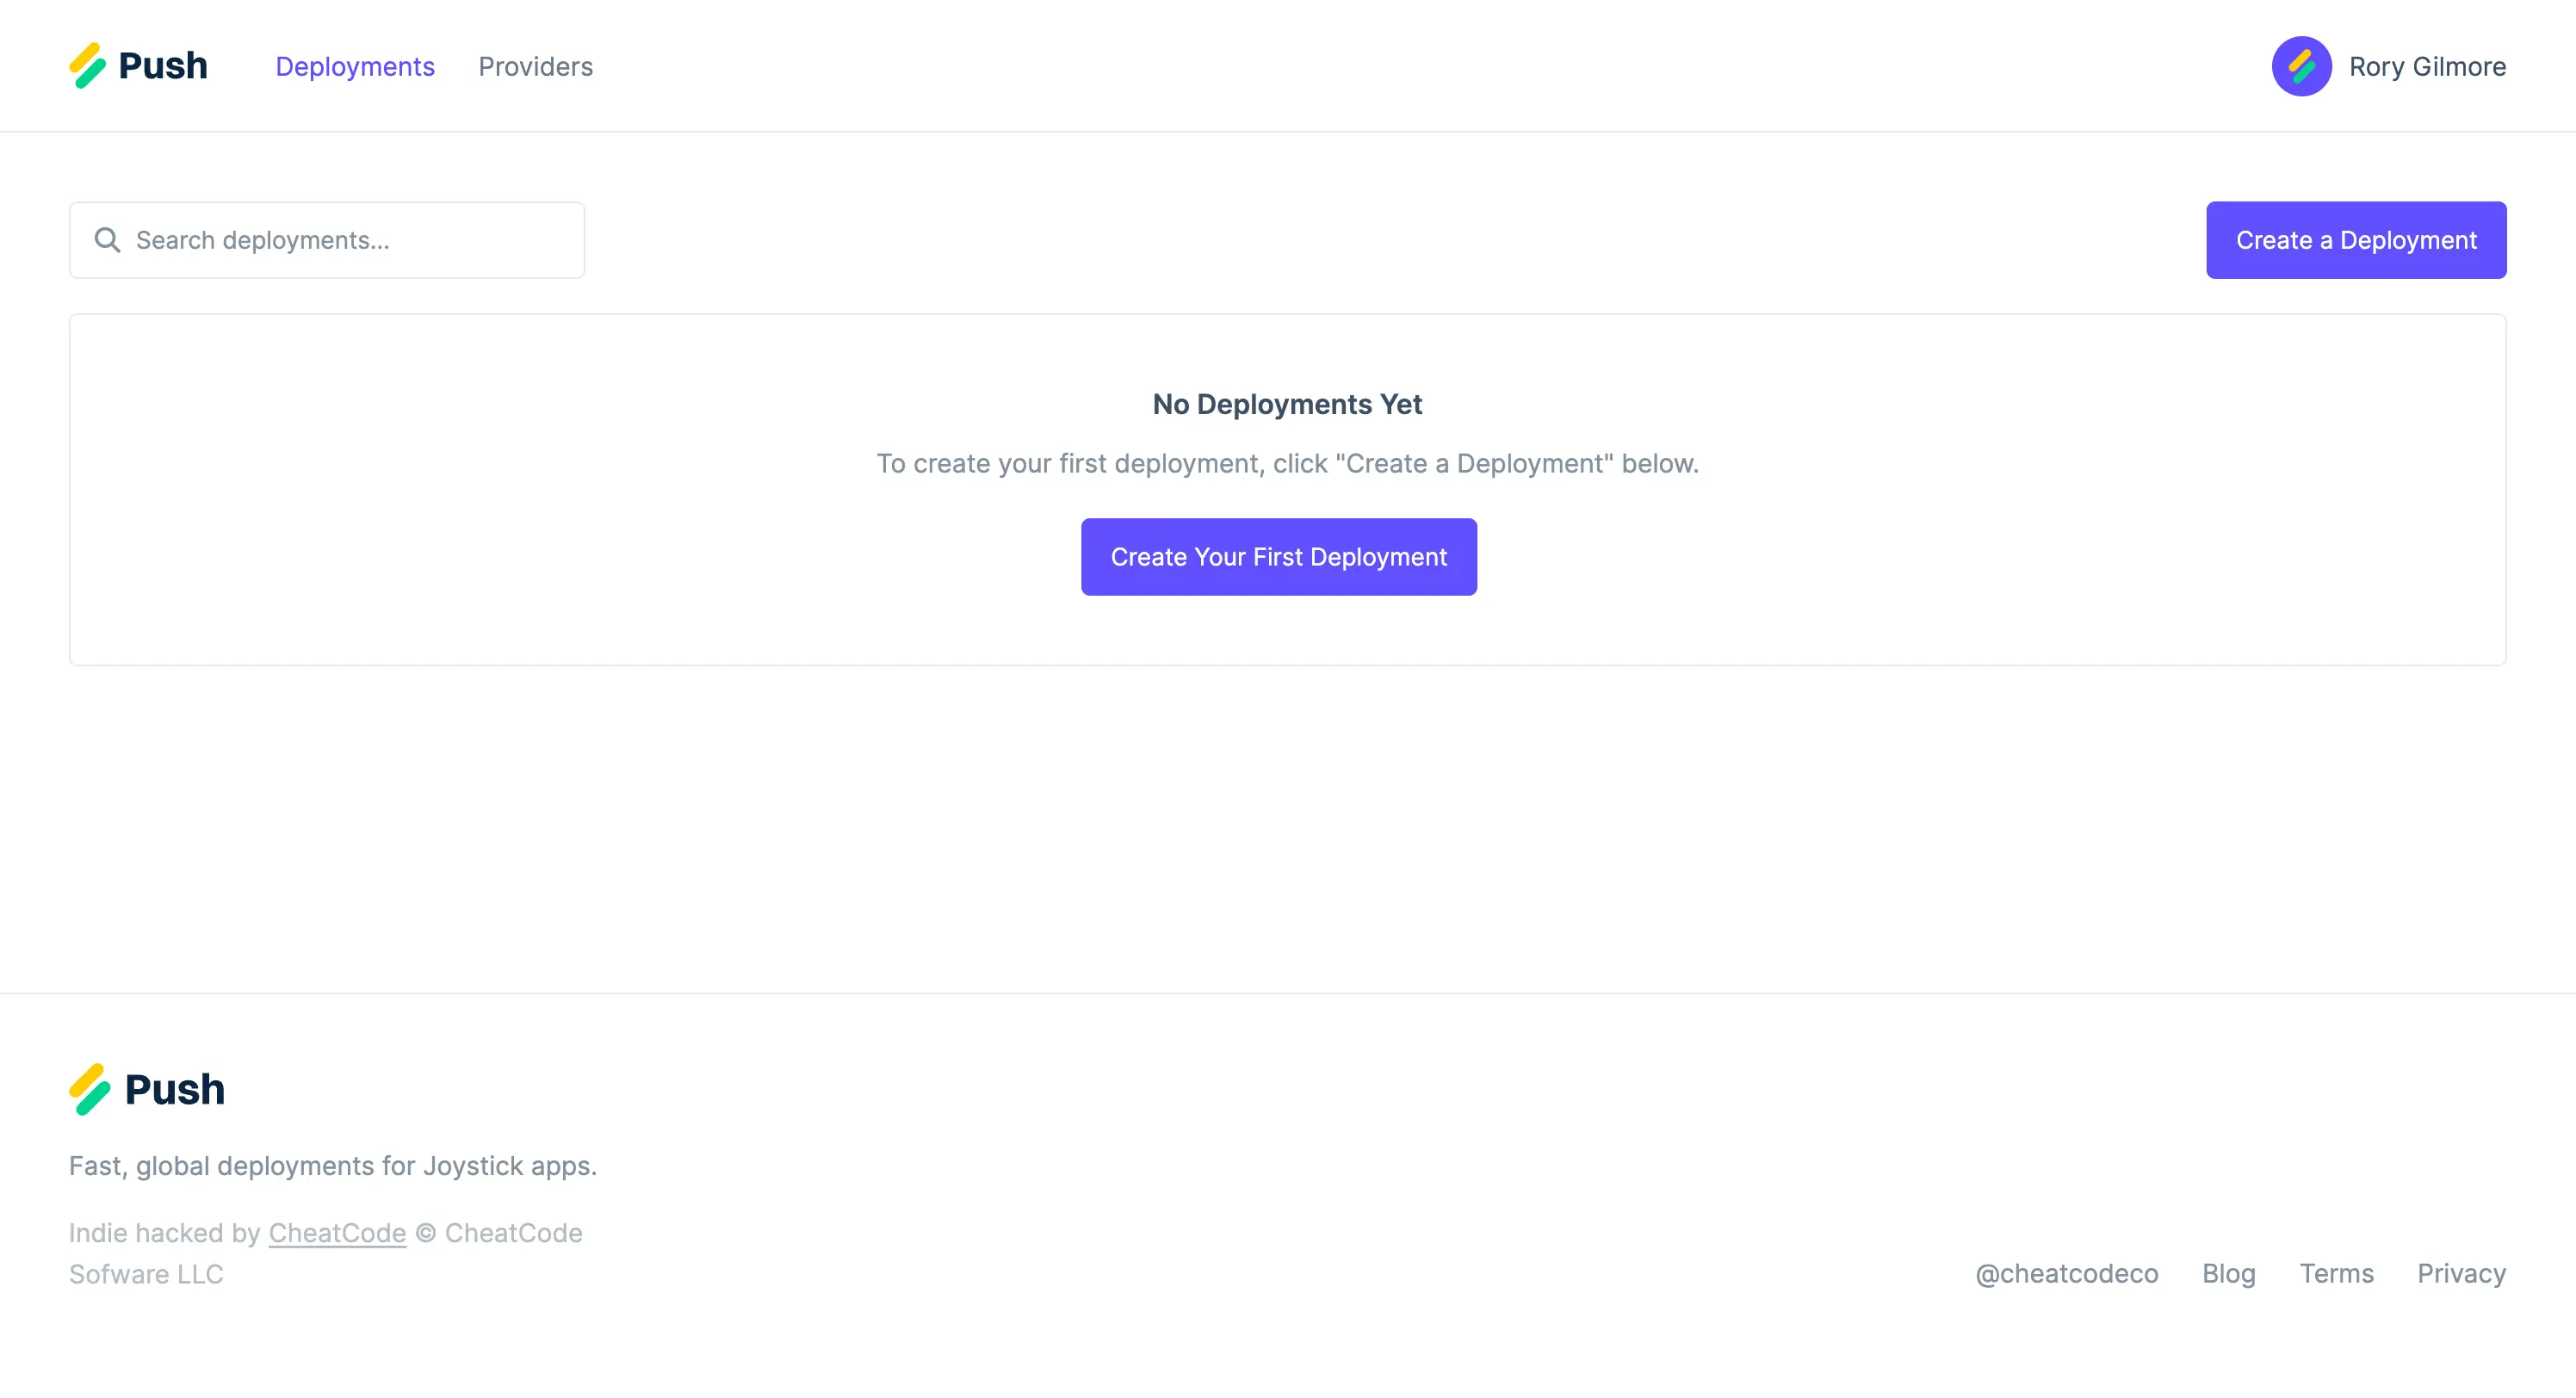
The Deployments Page in the Push Dashboard
- Your app’s domain. This should be the domain name without the protocol (e.g., codewithparrot.com and not https://codewithparrot.com).
- Your deployment’s environment. Typically this will be
production, however, you can also change this tostagingto set up a non-user facing deployment for testing purposes. - The deployment type. Select “Standalone” to deploy your app as a single instance, or, “Load Balanced” to deploy your app as a load balancer instance and two or more app instances.
- Your deployment’s provider. Select the provider where your deployment’s instance(s) will live.
- Your instance size. Select the size of the instance for your app (and if applicable, load balancer) instances. Instance sizes and prices are pulled directly from your choosen provider.
- Your deployment plan. Relative to your deployment’s needs, select the Push plan you’d like to subscribe to (note: this cost is independent of your instance costs on your provider).
- Your payment method. If you alread have a card on file that you’d like to use, select it, or, click the toggle switch to provide a new credit card you’d like to use.
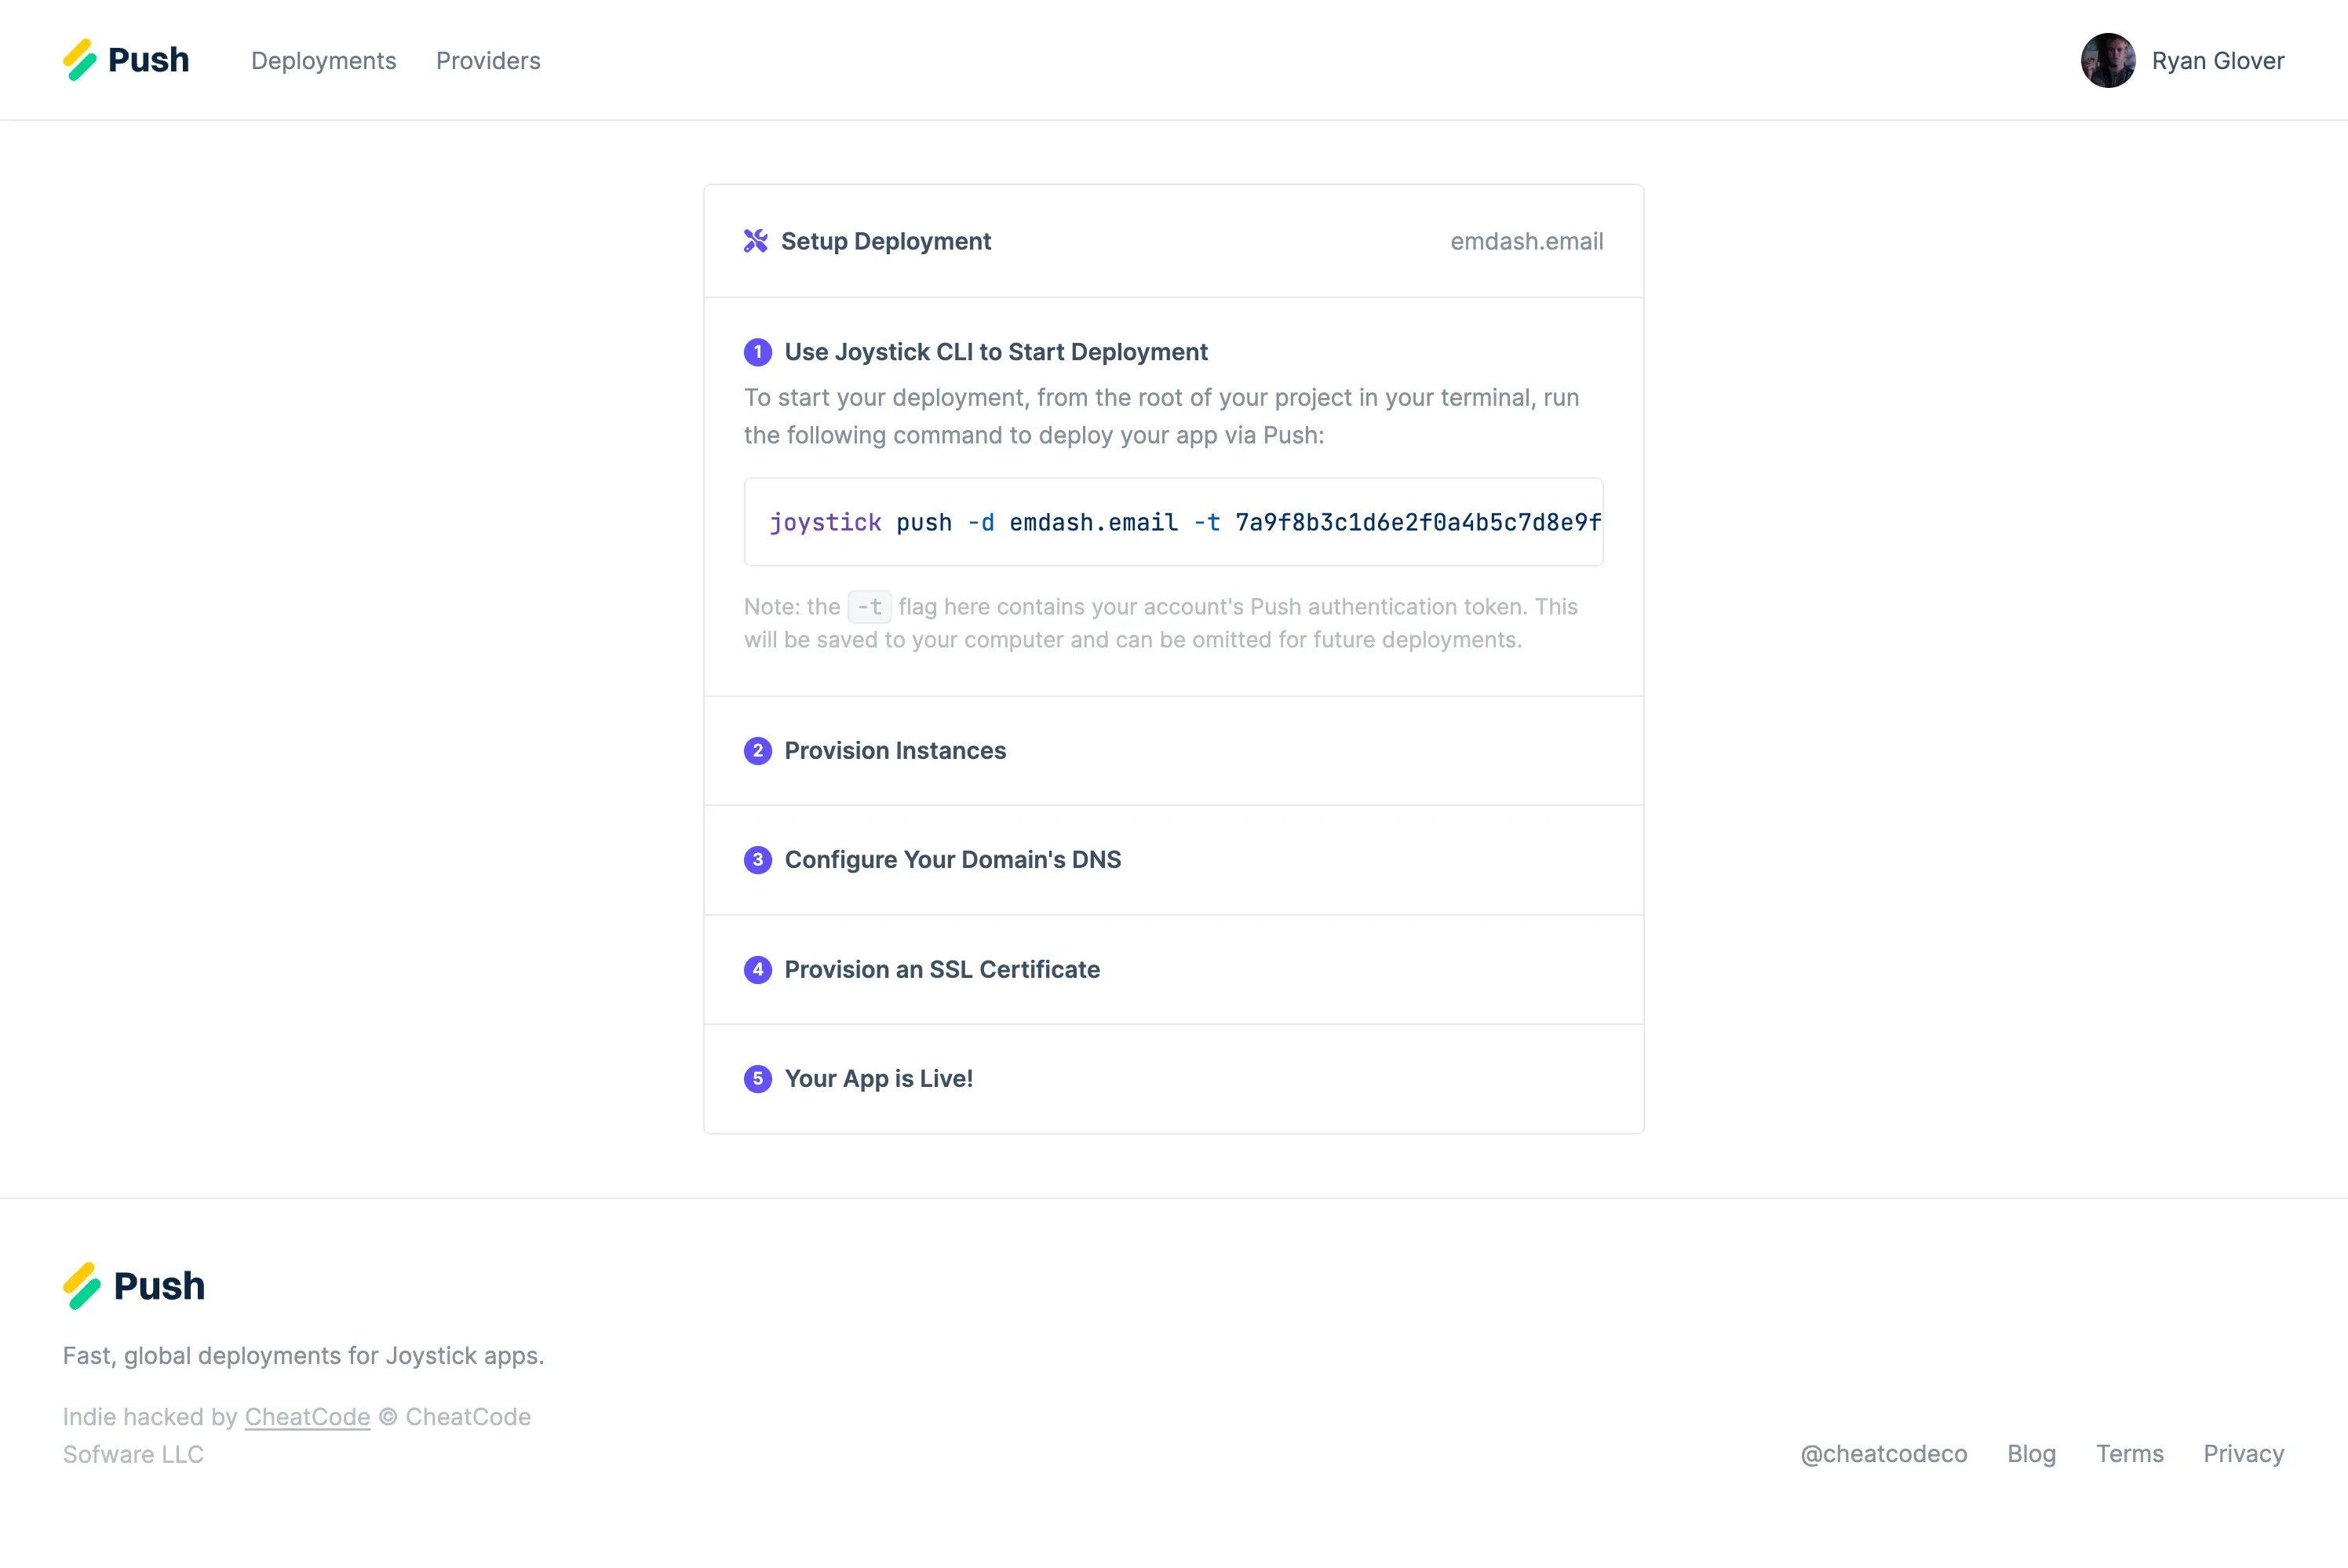
Deployment Setup